The short answer
Expand section
The short answer
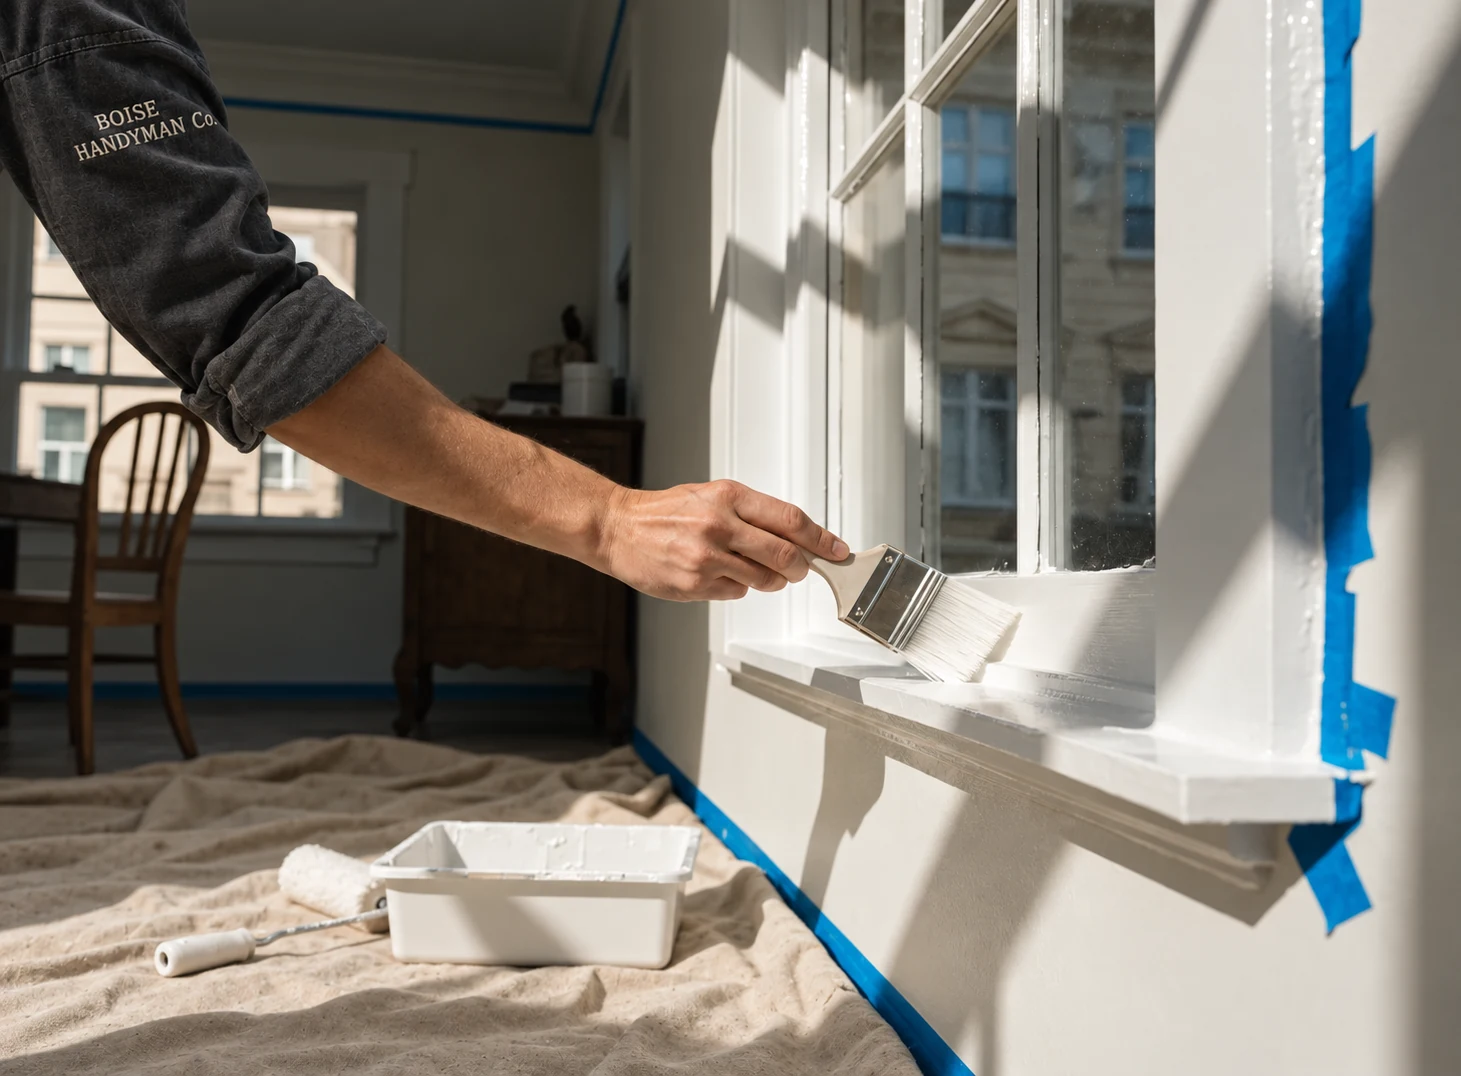
Touch-ups fail on sheen, not color, and the fix is matching how the paint was applied, not just what is in the can. A dab of the original paint, brushed thickly over a scuff on a rolled eggshell wall, dries into a rectangle that catches light differently forever. The blending recipe is short: clean wall, correct paint, thin coats, the same applicator that made the original finish, feathered edges. And the honest rule underneath it all: flat walls forgive, shiny walls do not, and some walls simply need painting corner to corner.
Why touch-ups flash
Expand section
Why touch-ups flash
Three mismatches produce the telltale patch. Sheen mismatch: paint builds its shine from film thickness and surface texture, so new paint at a different thickness dries shinier or duller than its neighbors even from the same can. Texture mismatch: a roller leaves a fine stipple; a brush leaves strokes; a dab leaves a smear; light reads all three differently. Color drift: walls live in sunlight and air for years and shift subtly while the can does not, so a perfect factory match can still read as a slightly fresher rectangle.
Flat and matte paints hide all three mismatches, which is why builders use them on ceilings and walls. Eggshell and satin amplify them. This single fact should drive your whole strategy.
Finding or matching the paint
Expand section
Finding or matching the paint
The original can is gold; a fresh match is silver; guessing is worthless. Hunt the garage and utility shelves for labeled cans, and check whether the builder left a color schedule, newer Treasure Valley homes sometimes have colors noted on a closet wall or in closing documents. Stir old paint thoroughly and strain it if it has skinned; a can stored through a few garage freezes may be past saving.
No can? Cut a quarter-size chip from somewhere invisible, inside a closet, behind a switch plate, and have a paint store scan it. Modern matches are close enough for touch-up on flat paint. Buy a quart, not a sample pot, and label it with the room name for next time. Future you will be grateful in a way present you cannot imagine.
Wash before you paint anything
Expand section
Wash before you paint anything
A meaningful share of touch-up lists disappear under a damp cloth. Scuffs, crayon, fingerprints, and door-edge marks often wipe off with warm water and a drop of dish soap on microfiber. Melamine sponges erase stubborn marks but abrade the surface, so use them gently on flat paint or they polish a shiny spot into existence, creating the exact flash you were trying to avoid.
What survives washing gets painted, and the washing already did the mandatory prep, because paint over dust and hand oil adheres poorly and shows every particle. Let the wall dry fully before any paint touches it.
The blending technique
Expand section
The blending technique
Thin, matched, and feathered are the three words that matter. Load a mini roller lightly, the wall was almost certainly rolled, and a brush cannot fake roller stipple, and apply a thin coat just covering the mark. Then feather: keep rolling outward past the repair with progressively lighter pressure so the film thins to nothing rather than ending at an edge. A crisp edge is a line light will find; a feathered edge is a gradient it slides past.
Let it dry completely and judge in the room's worst light, low-angle daylight or a flashlight held against the wall. Not blended? One more thin pass. Resist the thick coat; thickness is where flashing comes from. For brushed trim, the same logic applies with a quality brush and long light strokes following the original direction.
Painting over drywall repairs
Expand section
Painting over drywall repairs
Patches have one extra rule: primer, always. Dried joint compound drinks paint differently than the painted wall around it, and unprimed patches telegraph as dull ghost squares through any number of topcoats. Prime the patch, let it dry, then touch up as above. The patch side of this handoff, feathering, texture matching, and when a crack needs tape, is covered in how to patch drywall like a pro.
New-home owners meet this at the year-one mark, when nail pops and settling cracks get repaired and every repair needs paint; the sequencing for that whole exercise is in the new-home punch list guide.
When touch-up is the wrong tool
Expand section
When touch-up is the wrong tool
Know when to stop dabbing and paint the wall. The corner-to-corner repaint is the honest answer when the paint is eggshell or shinier in a visible location, when the wall has faded enough that matched paint reads new, when the touch-up count on one wall passes a handful, or when previous touch-ups already polka-dot the surface. Corners are natural break lines; light never compares two walls the way it compares two patches on one wall, so painting to the corners resets the surface completely.
One wall is an hour or two of work plus dry time, and it beats a constellation of almost-matching dabs every time. This is also the moment to fix the caulk lines and nail holes on that wall, standard bundling under home maintenance.
Ceilings, trim, and the other surfaces
Expand section
Ceilings, trim, and the other surfaces
Each surface has its own difficulty setting. Ceilings are usually flat white and touch up forgivingly, but water stains need a stain-blocking primer first or they bleed through every coat, and a damp stain needs its leak found before cosmetics, the same rule as drywall. Trim and doors run semi-gloss, the least forgiving sheen; small chips can be filled and dabbed, but a scarred door edge or handrail generally wants a full repaint of that element, brushed end to end.
Cabinet touch-up is its own world of factory finishes and is honestly hit or miss; test somewhere hidden first.
What a professional pass costs
Expand section
What a professional pass costs
Touch-up is time-billed, and the efficient package is the whole-house pass. At Treasure Valley rates of $60 to $120 per hour, a half-day visit typically covers washing, spot-priming, blending every mark that will blend, and repainting the wall or two where sheen says so. Paired with drywall patches and fresh caulk, it is the classic pre-listing and post-move package, and the bundling math from what small home repairs cost in Boise applies in full.
Get the walls looking new
Expand section
Get the walls looking new
Send photos of the marks and a note on whether you have the original paint, and we will quote a touch-up pass upfront, and tell you straight which walls will blend and which need corner-to-corner paint. Start at the contact page or see our interior and exterior painting service for typical starting prices.