The short answer
Expand section
The short answer
Filling the hole is the easy third of the job; flatness and texture are the rest. A drywall repair succeeds when raking evening light crosses the wall and finds nothing: no bump, no smooth square in a textured field, no dull flash where primer was skipped. Getting there means choosing the right patch method for the size of the damage, feathering compound far wider than feels necessary, and matching the texture your wall already has. This guide gives you the method for each damage size and an honest account of the part where DIY repairs usually fail.
Know your wall before you start
Expand section
Know your wall before you start
Two facts about your wall decide the approach: its texture and what is behind it. Most Treasure Valley homes carry orange peel texture, a fine sprayed stipple, or knockdown, the flattened version of the same. A minority of newer high-end walls are smooth, which is the least forgiving surface of all. Look at your wall in low-angle light and know which you have, because the texture step is where the repair will live or die.
Behind the surface, stud bays carry wires and sometimes pipes. Before enlarging any hole, cut shallow, score and snap rather than plunging a saw, and probe with a flashlight. The plumbing version of this caution is a cousin of the advice in our toilet repair guide: the expensive mistakes are the ones behind the surface.
Nail holes, dents, and nail pops
Expand section
Nail holes, dents, and nail pops
The smallest repairs are pure fill-and-finish. Nail holes and dents take lightweight spackle or setting compound, applied thin, sanded flush, and primed. The rookie error is one thick glob that shrinks into a dimple; two thin passes beat one thick one every time.
Nail pops, the little crescents common in newer homes as framing dries, need one extra step: drive a drywall screw an inch above or below the pop to re-anchor the board, then reset or remove the popped fastener, and fill both. Skipping the new screw means patching the same pop again next year. Whole-house crops of nail pops in a home's first years are normal settling, covered in the new-home punch list guide.
Holes to 4 inches: the mesh patch
Expand section
Holes to 4 inches: the mesh patch
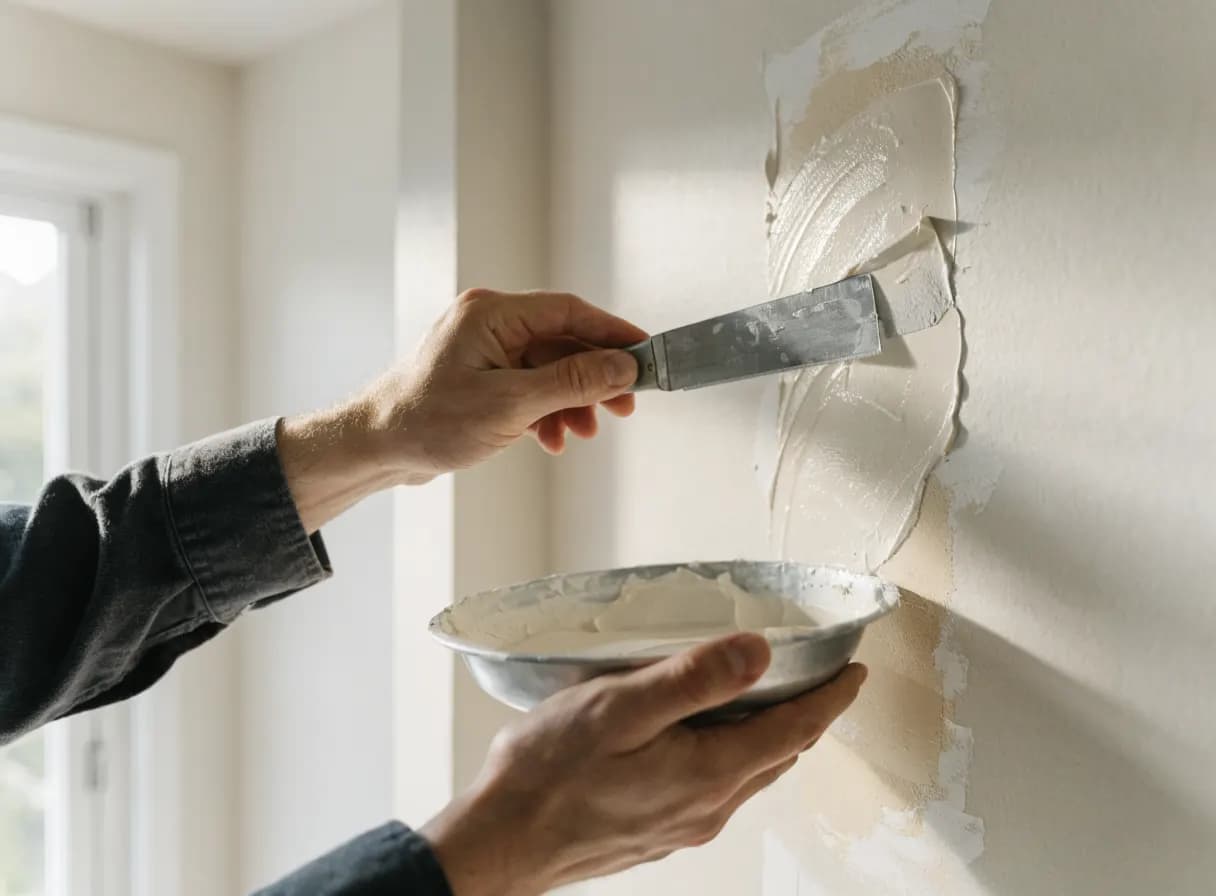
Doorknob territory. A self-adhesive mesh patch bridges the hole, and the work is in the mud: a first coat of setting compound pressed through the mesh, then two progressively wider finish coats, each dried and lightly sanded, feathered 8 to 12 inches beyond the patch. The feathering is not optional. A patch finished only to its own edges leaves a raised plateau that side light will find from across the room.
Setting-type compound, the powder you mix, is stronger and shrinks less for first coats than premixed mud; premixed is fine for finish passes. Between coats, patience: mud that looks dry at the surface can still be wet underneath, and sanding it early tears the repair open.
Holes to 8 inches: the California patch and backer strips
Expand section
Holes to 8 inches: the California patch and backer strips
Mid-size holes need structure, and there are two good ways to get it. The California patch cuts a drywall piece two inches oversize, snaps the back gypsum off the margin leaving the face paper as a flange, and beds that flange in compound around the hole, built-in tape, no backing needed. It is fast and surprisingly strong for holes from roughly 2 to 6 inches.
The backer-strip method screws one or two wood strips inside the hole spanning it, then screws a cut-to-fit drywall piece to the strips, tapes the seams, and finishes. It takes a few minutes longer and makes a stiffer repair, the better choice toward the 8-inch end or anywhere the wall takes contact.
Big damage: cut back to solid
Expand section
Big damage: cut back to solid
Beyond hand-size, stop patching the hole and start replacing the area. Square up the damage, cut back to stud centers or add backing strips, screw in a new piece of matching thickness, tape every seam, paper or mesh, and finish with three coats, each wider than the last. A repair this size is judged across several square feet of wall, which means several square feet of feathering and texture.
One special case outranks all technique: water damage. A sagging or stained patch of drywall is a symptom, and replacing it before confirming the leak is fixed just schedules the next repair. Soft, damp, or discolored material should also raise the mold question honestly; small dry history is routine, but active moisture or spreading staining deserves investigation before cosmetics.
Settling cracks: tape or repeat
Expand section
Settling cracks: tape or repeat
A crack filled with mud alone is an appointment to fill it again. Cracks at door and window corners and along ceiling seams open because the framing behind them moves seasonally. The durable repair bridges the movement: V-out the crack lightly, bed paper or mesh tape in compound over it, and finish in wide feathered coats. Cracks that return through taped repairs, grow visibly, or run wide and diagonal are past cosmetics and worth a professional look.
Texture and primer: where repairs become invisible
Expand section
Texture and primer: where repairs become invisible
This is the hard 20 percent that produces 80 percent of the result. Orange peel is sprayed on, aerosol texture cans work for single patches, with droplet size dialed on cardboard first, always. Knockdown gets the same spray, then a light pass with a wide knife after a few minutes of tack time. Spray past the patch boundary so new stipple laces into old, and accept that the first cardboard test never matches; the third one does.
Then prime, without exception. Dried compound is more porous than painted wall, and paint applied straight over it flashes, a dull ghost square that no number of topcoats cures. Prime the repair, let it dry, then paint, and mind the sheen rules covered in the interior paint touch-up guide, because on many walls the honest final step is painting corner to corner.
What pros charge, and when to call one
Expand section
What pros charge, and when to call one
In the Treasure Valley, a professional patch with texture and primer typically runs $150 to $350, and additional patches in the same visit are much cheaper each. Drying stages overlap, so five repairs do not cost five times one. That bundling logic is the through-line of what small home repairs cost in Boise.
Call rather than DIY when the wall is smooth-finish or the room is bright with side light, when the damage is on a ceiling, when water or recurring cracks are involved, or when you simply want it invisible the first time. Texture matching is a reps game, and it is most of what you are hiring with our drywall repair and patching service.
Make it disappear
Expand section
Make it disappear
Send a photo of the damage with something for scale and a close-up of your wall texture, and we will quote the repair upfront, including texture match and primer, with paint blending priced honestly where it is the right call. Start at the contact page or see drywall repair and patching for typical starting prices.